
How to Install Window Blinds & Shades
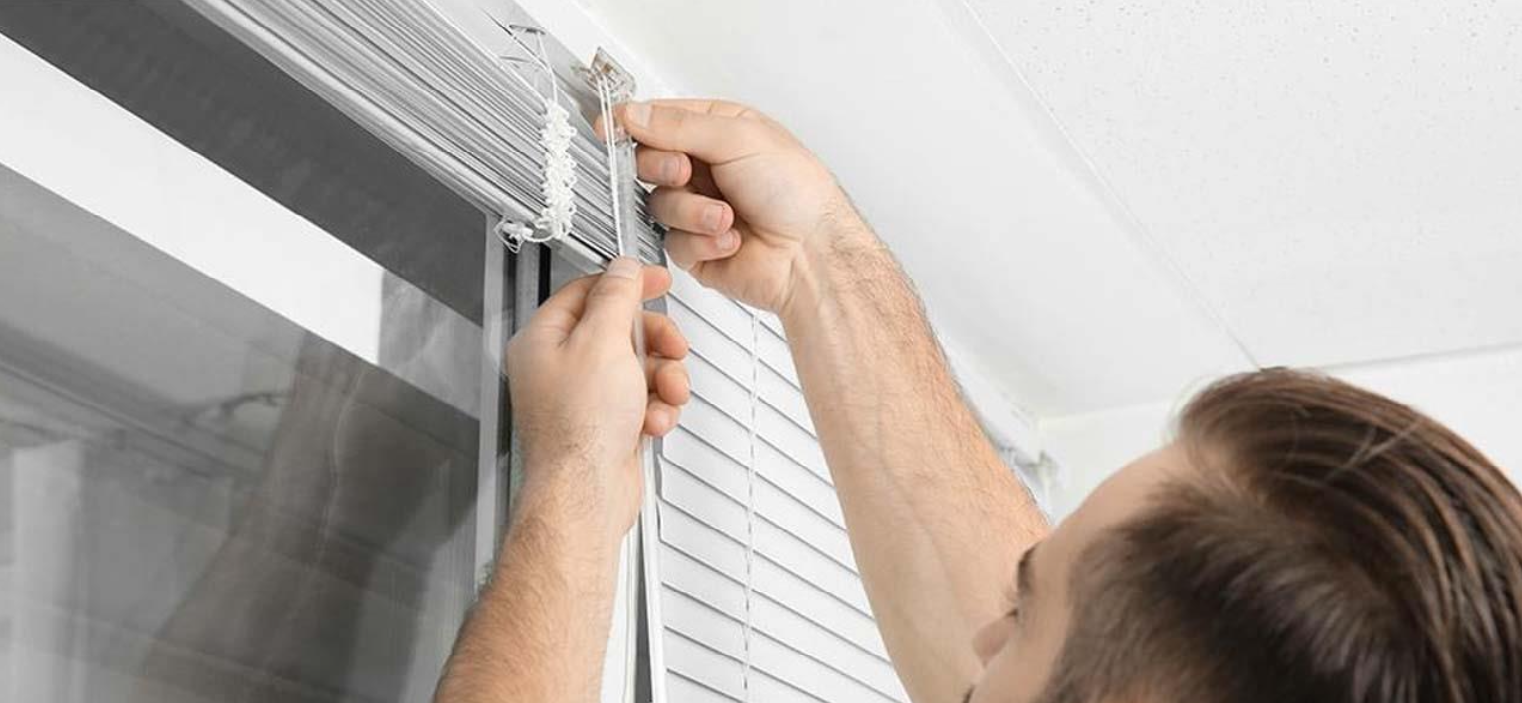
Installing custom blinds, shades and shutter may seem daunting but it can be easy by using some standard tools and following our simple guidelines. For complete and detailed instructions, please refer to the specific product below.
General Installation Preperation
— Identify Inside vs. Outside Mount
— Gather everything you need ready before installation
— Double check packaging to make sure you have all the necessary hardware
What You’ll Need to Install Blinds & Shades
— Metal Tape Measure
— Screwdrivers (both flat & Phillips head) — 1/4″ Nutdriver
— Safety Glasses
— Drywall Anchors
— Pencil
— Drill with Bits
— Level
— Ladder (if necessary)
Inside Mount vs. Outside Mount
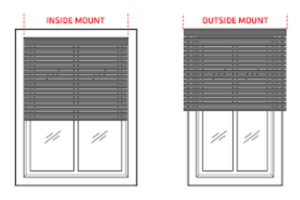
How to Install Inside Mount Blinds or Shades
Before marking bracket locations, ensure that your bracket placement will not interfere with any components inside the headrail. Click here for additional details about minimum depth.
See specific category instructions below for details.
— Mark the bracket locations
— Install the brackets
— Install the blind or shade
— Blind or Shade fits within the window opening.
— Great for windows with beautiful trim.
How to Install Outside Mount Blinds or Shades
IMPORTANT: The brackets must be flush against a flat mounting surface. Do NOT mount brackets on curved molding.
See specific category instructions below for details.
— Mark the bracket locations
— Install the brackets
— Install the blind or shade
— Blind or Shade mounts outside the window opening.
— Increased light control and privacy.